⚠️ This forum has been restored as a read-only archive so the knowledge shared by the community over many years remains available. New registrations and posting are disabled.

All times are UTC + 8 hours


Post new topic Reply to topic  [ 3 posts ] 
Author Message
 Post subject: Putting plan into action
PostPosted: Mar 18th, '14, 13:55 
Newbie
Newbie

Joined: Mar 7th, '14, 12:41
Posts: 11
Gender: Male
Are you human?: yes
Location: Jacksonville, FL
Well, since my patio is still not repaired and I may end up moving to a 1st floor apartment, decided to just start building my AP setup in phases after modifying my original design plan.

Style: Flood and Drain
Fish Tank: Starting with a simple 22gal tote but will get a stock tank of either 100 or 110gal size. (price between 40gal and 110gal is $15 USD.
Grow Bed: Cut down 50gal tote to about 32gal. Will hold 10" of grow media
Media: At first just some Red Lava, but will move to Clay Balls.


Now, being on fixed income I am splitting the work over the course of a few months. This month is pretty much set for the grow bed construction. Next month gonna pick up anything else needed for the grow bed, pump and plumbing, and some media.

So, here is my start into Aquaponics.

As I browsed a lot of systems I noticed when people used totes for the grow beds they very much bulged, and for me I'd rather give the sides some support. After working out the growbeds eventual dimensions I figured out a simple frame and then went to Home Depot to pick up the screws and boards.

Image

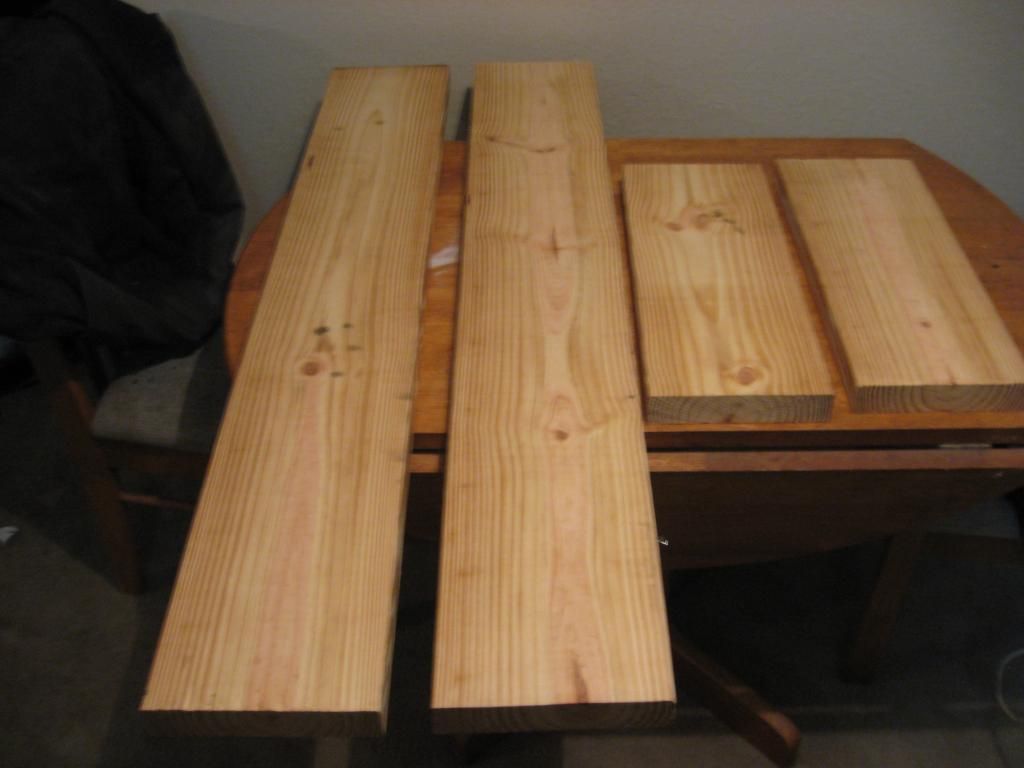
Since I live in an apartment and don't have much in terms of tools I just had them cut the boards to the needed length. Luckily, all I needed was a single 12ft board.

Image

Pre-drilled one of the boards to make driving in the screws that much easier. Idea was to space the screws out as evenly as I could to give the frame some extra strength/stability.

Image

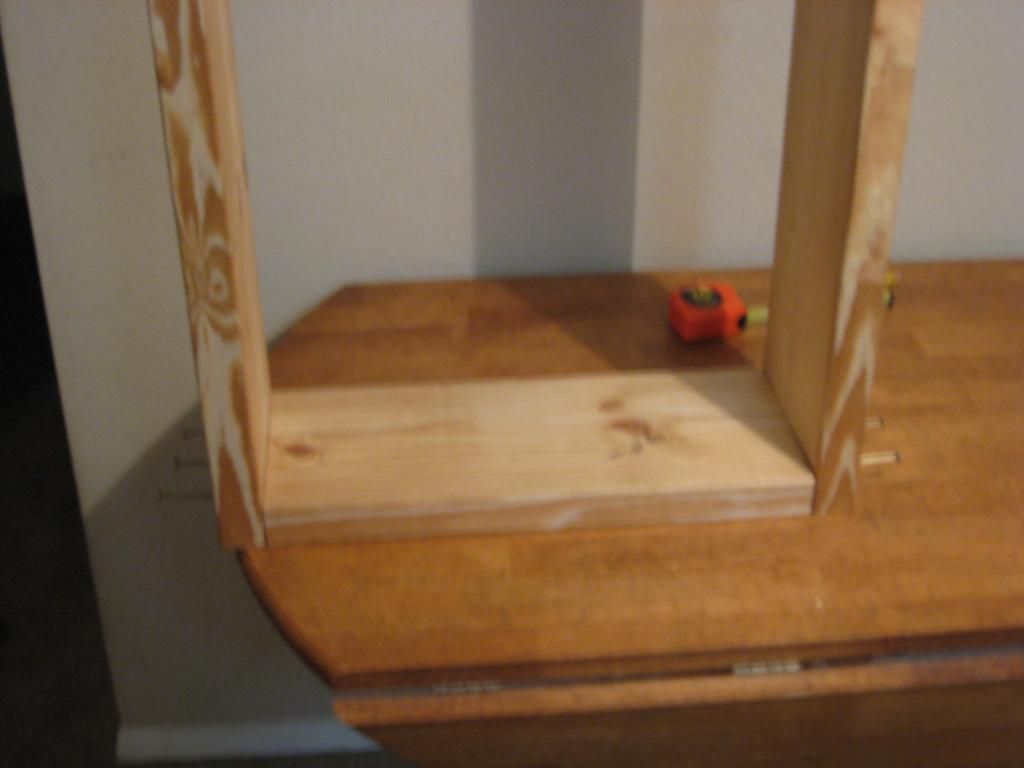
Putting in the screws with the pre-drilled holes made this part of the build easy and almost without incident. Using the spare 18" side to help brace and guide the first connection I easily assembled it and moved onto the next piece. Using the scrap lumber from earlier, repeated the process and had 3 of the sides all attached, This was where the initial problem came to be.

Image

The table I was using was to small to properly drive the screws in and I had no way of supporting the heavy end. As I looked it over, I stood it up in the air as pictured. The frame stood pretty still as I drove the screws in and quickly brought it down.

Image

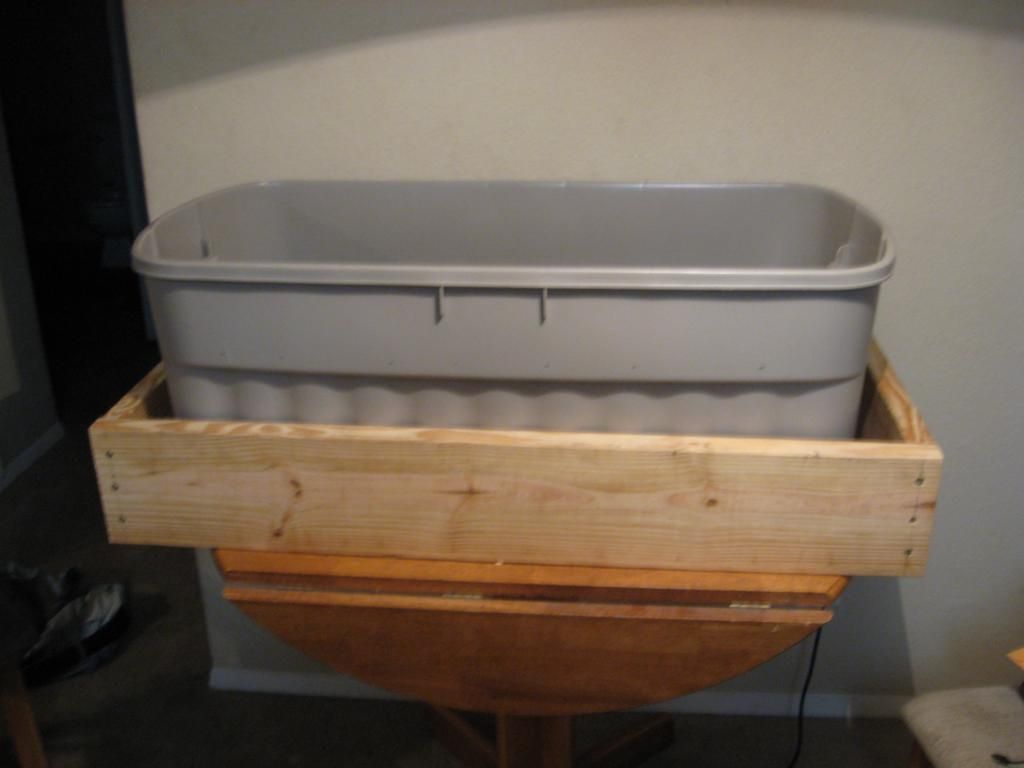
Picture of the finished product and the eventual grow bed. Sadly, seems I screwed up on my frame design and it was 2.5" to long. At first I was upset, but realized this could easily be ratified by getting another couple pieces of wood and plywood and in essence make a simple shallow storage unit. Can put the testing supplies etc there and keep everything together.

What still needs to be done for the table/grow bed:
-The storage compartment for the bed.
-Bottom and legs for the grow bed.
-Cut grow bed down to size and then clean it out.


Top
 Profile  
Reply with quote  
    Advertisement
 
PostPosted: Mar 19th, '14, 07:07 
Newbie
Newbie

Joined: Mar 7th, '14, 12:41
Posts: 11
Gender: Male
Are you human?: yes
Location: Jacksonville, FL
Sat down, figured out my expenses for the rest of the month and saw I had bit extra to do some more for my table.

Sat down and thought I figured out the needed lengths but ends up I screwed up some of the measurements. Need to pick up a handsaw next month and trip everything then. Til then here is the nearly completed grow bed.

Image
First thing I did was just roughly sketched where I needed to put the screws to secure the OMB board to the frame. After doing that I pre-drilled some of the holes through the OMB to help get the screws started. Never realized how much easier drilling screws is when you pre-drill the holes.

Image
After getting the OMB secured to the frame I got my 2x4 studs to start construction on the legs. Right now I am just matching them up and marking them up to drill starter holes in them. Was actually pretty happy with the guy who cut my wood the last few days. Even though they were not precision cuts, they were overall almost right on the money on where I needed them to be.

Image
Quick shot of the 2x4 studs after being secured together with 3” #10 wood screws.

Image
Finished shot of the grow bed. As you can see in this picture where my error happened in the measuring for the outer 2x4. There is about a 1” or so overhang for the OMB but the camera was a bit blury so not really visible.

Image
Finished product mocked up a bit near the window I plan on growing out of. Overall I’m happy with how the grow bed came out. It has been about 25yrs since I really picked up tools to make something like this. I do think if I was to build something like this again it would be better.

To Do List
Fill in screws with carpenters putty and then sand down entire table.
Stain the wood just to give it a sort of finished appearance.
Build the storage part on the side.
Look at adding extra support to middle of bed.

Parts List:
1 2x10x12
1 22”x44” OMB board
1 2x4x8
1 2x4x10
28 No. 10 3” long wood screws

Now, given what I know now, what Would I do differently.
Besides quadruple check my math:
Switch from 2x10x12 to a lighter wood such as 1x6
Invest in good drill and bits for it

Right now gotta figure out how I am going to route the plumbing and then figure parts list with lengths needed.


Top
 Profile  
Reply with quote  
PostPosted: Mar 25th, '14, 14:32 
Newbie
Newbie

Joined: Mar 7th, '14, 12:41
Posts: 11
Gender: Male
Are you human?: yes
Location: Jacksonville, FL
Ran into problems, tub I had had major crack in the bottom. So had to improvise and came up with this solution. Not as much grow space but will do.

Took 2 22 gallon totes and cut the top off to give me approx. 10 1/2 inches worth of grow space. The before photo's got all blurry to the point not worth posting. But in the photo above of the first mock up, basicaly two totes of the one on the bottom acting as the Fish Tank.

Image

There is the shot of the two totes cut down to more managable sizes as far as grow bed dept. Now, I know some will comment how that is going to weaken the sides, and I agree. The thing is I plan on re-inforcing the tops by using the tops that I cut off already. I need to trim the very top part of the top to get the two to fit, and it will be snug, but with the tops acting as a sort of reinforcmentent I can put a small piece of wood in the back to also act as a brace to further support it.

Image

Shot with mocked up plumbing. Nothing has been glued and it is just rough cuts to get an idea. All the pieces are a deliberate 2-3" longer than initial estimates.

Image

Shot of the full plumbing, again, not gled and all parts deliberately longer than needed at the moment.

Red arrow points to the ball valve I installed as a means to help regulate the water flow to the grow beds. Seems I forgot to grab an extra PVC T-joint and will put in around there.


Top
 Profile  
Reply with quote  
Display posts from previous:  Sort by  
Post new topic Reply to topic  [ 3 posts ] 

All times are UTC + 8 hours


You cannot post new topics in this forum
You cannot reply to topics in this forum
You cannot edit your posts in this forum
You cannot delete your posts in this forum
You cannot post attachments in this forum

Search for:
Jump to:  
cron

Powered by phpBB® Forum Software © phpBB Group
Portal by phpBB3 Portal © phpBB Türkiye
[ Time : 0.118s | 13 Queries | GZIP : Off ]