Now remember, a main focus of this project is to use gravity to move the water as much as possible so we can cut down on watt draw. So...looking at this picture I will be pumping the water from the sump(lowest point, basically a collection tank. You cant see it in this pic) up into the 3 fish culture tanks. I will use ball valves to control the flow rate entering the 3 tanks.
This picture shows how I tied the 3 tanks together. The pipe coming in from the bottom is from the tank on the end, the pipes coming in from the sides are from the side by side tanks, and the pipe exiting the top of the 4 way cross takes all of the water to the filtration system. Notice the top of that pipe is slightly lower then the lip of the fish tanks. This is what regulates the water depth in the fish tanks and keeps them from overflowing. Instead, they overflow into the filtration.

This picture is from the other side and shows the plumbing I installed into the filtration tanks. I have them elevated on cinder blocks and put a 2" bulkhead in the bottom of each trash can. I then plumbed them together. You can see the large ball valve in the picture. The function of the ball valve and 2" plumbing is to empty these filtration tanks VERY QUICKLY whenever I want. All you have to do is turn the valve, and the fish shits gonna be flowing! In 5 seconds, I can empty all the waste from all 3 cans and either discard the fish waste, bottle it and sell it as fertilizer or use it on my yard/potted plants. The trash cans will be filled with a shade netting material to basically knock suspended solids out of the water and give them a chance to settle to the bottom of the tanks. I am also in the middle of fabricating baffles for the inside of the trash cans. The baffle will basically be a wall in the middle of the can that sits about 4" off of the bottom of the can. When the water enters, it will naturally want to go down to get through the gap under the baffle. This will force the water through my netting material, then the water will rise up and exit out of the other side. All 3 filters work the same way so that by the time it comes out of the 3rd can, the water is polished and there are no solids left in the water column to foul up the grow beds. Ahhhhh...clean, nutrient laden water!!

In this pic you will see where the water exits the last filtration can, and is delivered to the plant growing beds. I installed 2 ball valves to control the water flow going into the tanks.

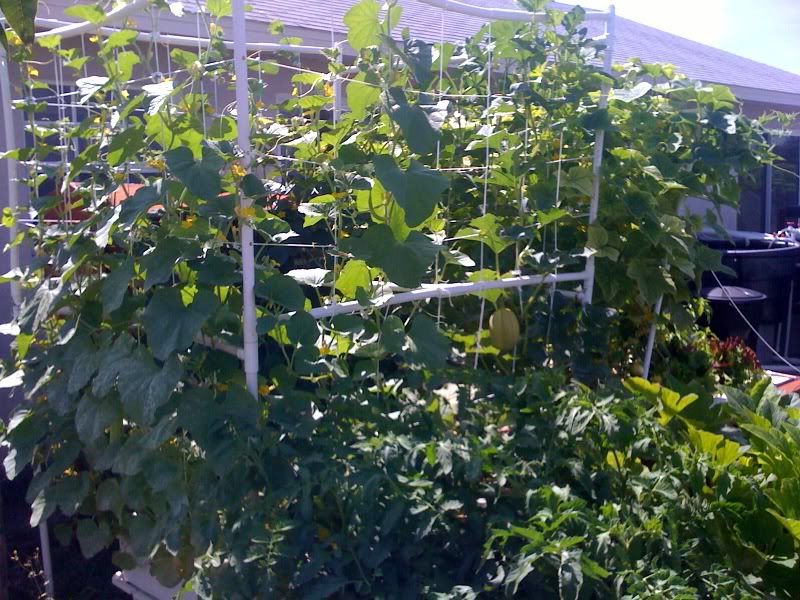
Here you can see where the water is delivered to the plant bed

And this one shows the other plant bed in the back ground:

Originally I water proofed the wood with a stain on the outside and fish safe epoxy paint on the inside. i was going to use a thin liner because it would be easier up front the epoxing in all the corners and seems plus I already have a roll of the stuff in my garage.

Well, that plan didnt work. The liner was leaking a small stream out of the corner within 2 hours. This forced me to epoxy in the corners/seems, sand everything, and recoat the entire tanks with another coat of epoxy paint. It took some work but here is the finished product:


(Notice the drain line coming out of the tank and going itno the ground)
This is a pic of the sump(lowest tank in the system, point where all water will flow to and the pump will return this clean water to the fish tanks) and you can see where the drain line from the tank above is coming out of the ground and entering the sump tank. You can also see the drain line from the 1st tank draining into the sump and the small 3/4" pvc line coming out of the sump wich is the return line to the fish tanks(has a water pump attached to it inside the sump). The only place where the water level will fluctuate(through evaporation, cleaning the filtration etc) will be in the sump. All the fish tank and filtration water levels will stay consistent.

Here's the water running through the filtration system:

Pic of the water flowing into the root crop portion of the system(I will fill these tubs with perlite and attach something like a soaker hose to the water outlet when im closer to planting):

Here is a pic of the 8 x 4 sheet of styrofoam after I cut it in 2 and marked it up for drilling:

After I drilled the holes:


I have placed 2" net cups into most of the holes(I ran out, need to buy a few more) and I am holding one in the pic so you can get an idea of what a 2" net cup is! lol. You start the seeds in rockwool cubes, jiffy peat pellets or something like that, then transplant them into these cups after they have sprouted. The roots then grow through the holes into the troughs below.

The first thing I needed to do is build a small shelter for the air pumps to sit in. Now the air pumps that I used are rated for outdoor use so they're fine out in the weather BUT I wanted to have a water free area for the power outlet and all of the electrical connections so a big rain storm doesnt trip my breaker and shut everything down(possibly causing a fish kill). When designing this I kept 3 things in mind.
#1- Waterproof area for the electrical connections
#2- Good air movement so the pumps don't over heat
#3- Front and back accessibility
I did a basic design and hinged the sides so that I could access the pumps when I need to. I also siliconed the top edges so it's water proof and installed my outled up there.


After I constructed the pump house, I started in on the plumbing for the aeration. Here you can see where the airline runs down the side of the pump house, over to the wall of my house and then down the side of the house. It runs all the way over to the other grow bed. I then branch off of this main header pipe to go to both grow beds and the fish culture tanks.

To construct the air manifold for the grow beds, I used an 11/32" drill bit, 1/8" tap, and 5 x 1/8" air valves. After you tap the hole, the air valve screws into it and then you connect your airline to the end of the valve.


Now I tried 2 different combinations of airstones for the grow beds. On one bed I used 5 larger stones spread equally through the bed:


With the air turned on:

On the next bed, I used 5 stones for each run thinking it would be better to spread the air out more evenly across the growbeds:


Well, it didnt work. These airstones arent naturally weighted so they floated to the top right away dammit. I would have to find something to anchor them to if I wanted to use this set up which is too much BS. And they looked so pretty! Im gonna buy 5 more of the larger stones today.
For aerating the fish portion, I came out of the header pipe and made an air manifold in the middle of the three fish tanks. I used a larger 12" stone for each tank: